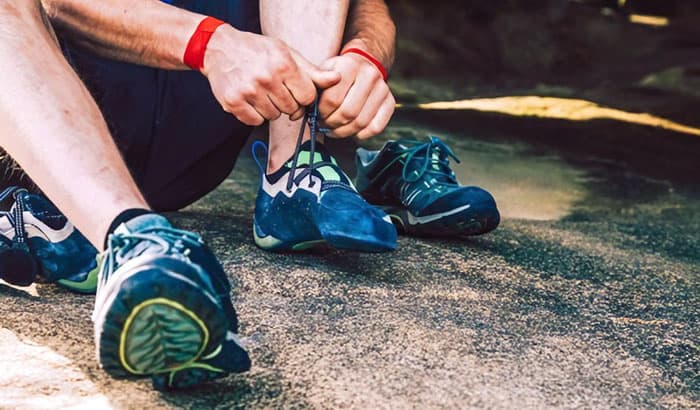
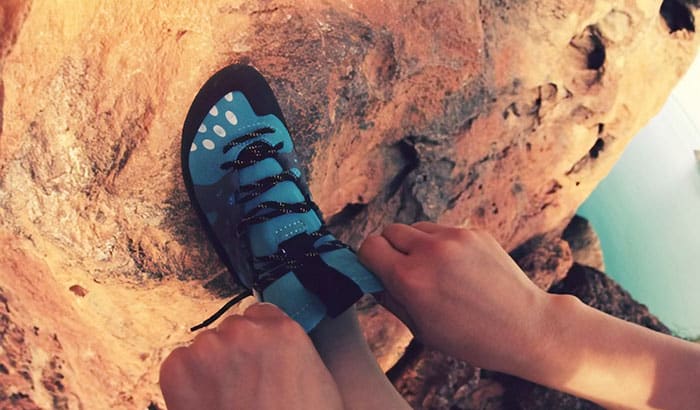
Climbing shoes works best when it is a snug fit to both of your feet. In fact, it gives the climber more control and grip that helps in having the best performance during the climb. But what if the new shoes you bought are just too tight for your comfort? Is there anything that you can do to at least make it more comfortable for you?
To answer those questions, climbing shoes can be stretched if it feels a little bit too tight. But how to stretch out climbing shoes? Apparently, we can stretch the upper part of the shoe to make it more comfortable. There are many ways to do so, and some of them are discussed in this article.
Contents
Methods to Stretch Out Climbing Shoes
As I mention earlier, there are many methods you can do to stretch out tight climbing shoes. Stretching the shoes is also part of breaking in to prepare for the climb. And this can be a rough process.
The easiest way to do it is to wear them around when you are not climbing. Spend some time wearing it around the house to stretch it slowly. In this article, we will be discussing methods that have been proven to stretch out climbing shoes quickly effectively.
Method No. 1: The Hair Dryer Technique
The hairdryer technique uses heat as a significant factor in stretching the fabric of the shoes. It might not stretch as much compared to the other methods, but this method is an excellent option if you want results immediately.
What You Need:
- Hair Dryer
- Several Pairs of Socks
Step 1: Put Some Socks into the Shoes
The initial step is to put several pairs of socks into the shoes. I would suggest making the socks circular by rolling them to make them rounded. Fill all the socks inside the shoes as much as you can to make them pack and tight. Doing this action will put some pressure on the shoes.
You will need to make sure that everything is tight under the shoes. Do not leave any room and put more pressure on it to have the best chance of stretching.
Step 2: Heating the Shoes Using Hair Dryer
You will need to put a premium on the distance to prevent overheating your precious shoes during the heating process. A reasonable distance should be around six inches while ensuring that the heat will be spread evenly to the shoes.
As you heat the shoe, you can constantly move the hairdryer back and forth to spread all the heat evenly to all the parts. Once it feels warm, you can now turn off the hairdryer and check the shoe after.
Make sure that the shoe is warm enough to maximize the result. If you feel that it is too cold, then apply more heat for about thirty seconds. But please ensure that you are not putting too much heat to prevent any possible damage.
Step 3: Adding More Socks While it is Still Warm
Applying heat into the shoe through the dryer will help in stretching the shoe slightly. To maximize the result, you can add more socks if it is still possible. Doing this action will put more pressure on the shoes and will maximize the chance of stretching them.
Step 4: Cooling down
The next step is to let the shoe cool down for a while. But when doing this process, please leave the socks inside because it is responsible for applying the pressure inside and serve as the mold to stretch the shoes possibly.
Step 5: Checking the Fitting
The final step is to check on the fitting of the shoes and see if the stretch is enough for your needs. If you can do it, you can try to wear it for about thirty minutes to see for yourself if the fitting is already more comfortable than before.
You can also try to make the new shoes as an alternative to your old climbing shoes. Try to wear it for a few sessions during your climb. This action will also help in eventually stretching the shoes to the size where they are more comfortable.
Method 2: The Freezing Technique
If a hot temperature can stretch the shoes, so is the cold environment. In this method, we will be using water as the main component to help expand the shoes. The water naturally will expand as it freezes, so we will try to put it inside the shoes.
What You Need:
- Freezer
- Water
- Sandwich bag with zipper seals
Step 1: Putting Water in the Sandwich Bag
The initial step is to put some water into the sandwich bag. When doing this step, add enough water to the bag while removing excess air before tightly sealing them. The quantity of the bag you will be using will depend on how large is the inside part of your shoes.
But make sure that you will not be leaving any extra space inside the shoes. You will need to fill up and do not leave any space to maximize the result. We are doing this action to fill all the water inside the shoes and maximize the result of stretching.
Step 2: Putting the Sandwich Bag Inside the Shoes
Once the sandwich bag is ready, slowly and carefully put them inside the shoes. Ensure that the bag will go down as deep as possible while reaching the toe portion of the shoe. Then, lace your shoe to secure the plastic inside but ensure that the bag fills the inside thoroughly.
Step 3: Putting it on the Freezer
The most crucial step is to put the shoes in the freezer for about eight hours minimum. You can leave it for twelve hours but not more than because it might damage the shoes it will be exposed to the cold environment for too long.
Step 4: Removing in the Freezer and Let it Dry
After the prescribed period, you can now remove the shoes and let them dry for about thirty minutes. After that, you can now slowly remove the bag and put the shoes on the sink to thoroughly defrost the shoe. Once the shoe is ready, it is expected that it stretches a little bit. You can try the shoes to check their tightness and comfort in your feet.
Conclusion
If you feel that your new shoes are tight, then learning how to stretch out climbing shoes becomes necessary. Apparently, you can stretch the rubber soles of the shoes but stretching out the upper part is doable to make it more comfortable to the feet.


