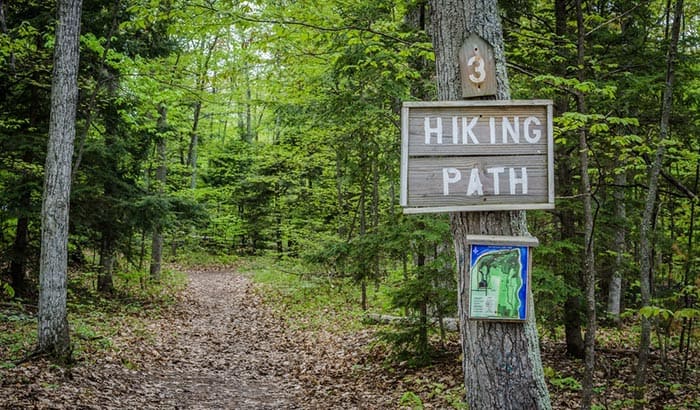
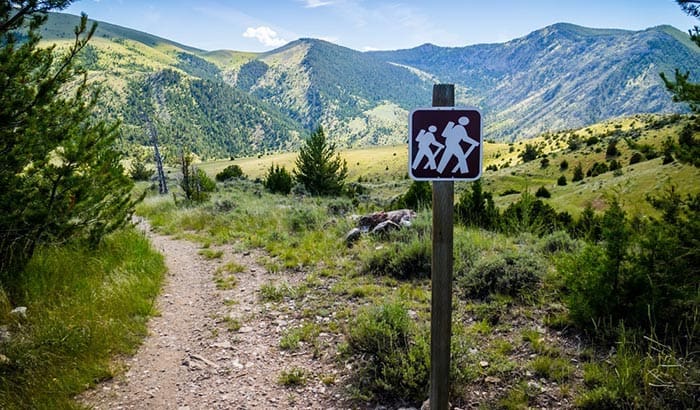
When I was just new to hiking, I never care about the trail or how this natural path is being created. That time, all I wanted was to enjoy the moment, the view, and maximize the experience of hiking in different places. Later on, I realized that these trails do not just come out overnight. Some people spend their precious time creating it and eventually maintain it. Mind you, these people are volunteers that are using their time and resources to make hiking a lot easier for them and other people.
But how to make a hiking trail? If you own a piece of land that can be a perfect place for hiking, creating a trail for that place can be a good idea for you. It can be a lot of work for you, but I tell you, making a trail can be as fun as hiking itself. So, if you are interested, just read this article until the end to learn how to build your own hiking trail.
How to Make Trails in the Woods
Hiking trail, if build right, can last for a long time. But, if it is built so poorly, it can have a very damaging effect and erode the surrounding places. With the said, you will need to have the proper preparation and planning for a trail that can handle other hikers aside from you. The list below are the steps in making your own hiking trail:
First Step: Gather all the tools you need
Making a hiking trail will need you some tools for the preparation of the new course. I suggest preparing a hand saw, loppers, an ax, and a hoe. However, if you can secure a pulaski, that will be better. It is a multi-purpose that combines an ax and a hoe into one. This tool is crucial if you are dealing with a long-distance trail. It will be comfortable for you to bring lesser items than bring everything, which will limit your movement.
Bringing a hoe can be just fine, but including a shovel can be difficult with its size. Its length and long handle will make it difficult for you to move from one place to the other. I also recommend using gloves for the protection of your hand. They also provide a good grip and prevent having blisters and thorns stuck on both of your hands.
Second Step: Plan the Route
After preparing all of your essential tools, the next thing to do is just backpedal and carefully check on the place you are working with. It is the best time to place on the direction of your trail. Plan the possible routes by putting a sign, probably a tiny flag as your guide. You will need to inspect even to the most minor details and see for yourself what feels right.
Always remember not to create extra work for yourself because it will be a waste of time. For example, you can go around trees instead of removing them or cutting them down. It is ideal to have s straight trail but turning it to the right or left to avoid a larger tree can be done to avoid more work for you.
Third Step: Start Removing the Brush and the Trees
Once you finally decided on the direction of the trail, it is now time to remove all the obstacles on the future trail. Start by removing all the bush in the area until you covered everything in the route. Use the lopper to clear all the brush that might disturb the hiker in the trail. The idea is to clear everything up to three meters across between each side. Ensure to pile and keep all the cleared bush far away from the trail to prevent them from destroying the view.
Then you can also remove all the smaller trees on the path of the trail. If the tree is leaning towards the trail, you can remove it if it is small. If it is huge, then plan your way to go around the tree. Be careful when cutting the trees and maximize the tools you have in your position. You can even dig around to remove even the roots to remove everything. But just cover the hole once everything is removed.
Fourth Step: Start Removing the Roots
After removing the brush and the trees, you can start eliminating exposed roots on the trail. Many people doing maintenance for a trail often forget the importance of removing exposed roots since only the leaves and pine needles are packed down. However, roots are constantly exposed at the path and should be removed to improve the quality of the trail.
Fifth Step: Checking for Possible Rainwater Direction
This step is essential in maintaining the quality of the hiking trail. You need to consider the possible direction of the water when it rains to make sure that you can find a way to lead the water off the trail. Check on the long downhill portion of the trail and some low spots as possible destinations. You can dig some drainage to lead the water off the trail since water running on the patch can cause potholes. The key is to find low spots as it can gather water once it is raining.
Last Step: Finishing Touches and Enjoying the Trail
If you noticed that a tread is sloping down away too far down on the hill, you can gather some dirt on the hillside and transfer it to the low area. This action is to level the ground and make the hiker comfortable. You can check everything on the trail and make some necessary adjustments should you find one.
After doing some finishing touches, the next thing is to appreciate what you have done. Always remember that you have done something that will make yourself and others enjoy it. So make sure to savor the moment and be proud as a hiker that you have made a hiking trail on your own.
Conclusion
Learning how to make a trail can be a fun skill to have if you are a hiker. Not many people who are into hiking are willing to sacrifice their time and resources to create a hiking trail. But if you are one of those who are eager to do it, please remember that you are making something not for yourself but for others to use and enjoy. In essence, this will be a unique achievement to you and in your list of hiking accomplishments.


