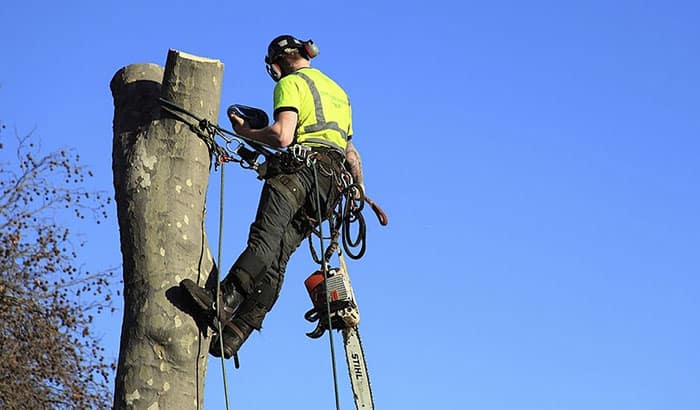
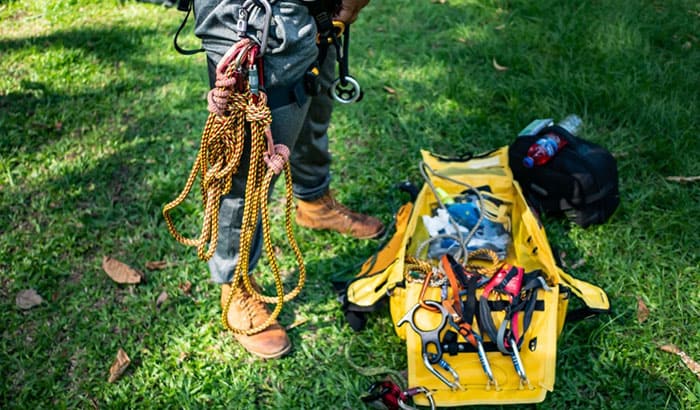
If you are into the passion of exploring outdoors, mountain climbing, and other extreme activities related to the outside, then I presumed that you have already climbed trees at least once. Whether it’s in the wild, in your home, or some other areas, climbing trees is a skill that you must have if you like the adventures outside.
Because of this, we made this tutorial on how to make tree climbing spikes for our team to teach outdoor enthusiasts like you. By doing do-it-yourself climbing spikes, you can have the option to personalize it and add some other features that will enhance your tree climbing experience. Please check the different methods below:
Making a Do-It-Yourself Tree Climbing Spikes
What You Need:
- 4 pcs. L Brackets
- Compression Straps
- Nuts and Bolts (About an inch or 1 ½ inch long)
- Drill with drill bits
- Angle grinder with grinder blade and cut-off blade
- Pair of pliers
Here’s how to do it:
Take the boot out
The first thing to do is prepare the boot that you will be using for the installation of the spike. I would prefer to use a combat boot or other boots of similar characteristics. Then measure how wide a pair of L brackets will be bolted out together by putting one each on the side of the boot.
You measure in front of the boot, in the area where you can put pressure on your toes. Pull the boot off and you will see how wide it is to bolt together the L brackets. Take a pencil and mark where the bolts are going when connecting the overlapping L bracket. Please take note that the bolts will also serve as the spike of the boot once it’s done.
Bolt the two brackets together
There will be 4 bolts that will be used in this process for the 4-foot spikes. Two for connecting the pair of L brackets in the center of the overlapping brackets and the other two will be bolted on each side of the two brackets to support the outside of your boots. Make sure that the two bolts connecting the two L brackets at the center will hit both by marking the right position during the bolting process.
When drilling at the center, you need to drill one L bracket first then use the new hole as a guide to drill the remaining L bracket. This is to make sure that the holes on the two brackets are in the right spot.
It is also important to make sure you have the right size of the drill bits with the size of the hole. You want to make sure that the hole is not too big or not too small and just enough to allow shifting in different movements and directions.
After drilling, use the grinder blade of the angle grinder to shave the hole of any unnecessary metal shavings that are stock on the hole. This is to make sure that the holes are clean up and fit very well.
Putting the Bolts in and Connecting the L Brackets
Once the hole is ready, proceed in getting all the bolts and putting them into the holes made in the L brackets. No need for washers in this situation because the L bracket metals are very thick. Make sure to make the nuts tight when screwing all of the bolts by using the pliers and wrench to make them secure. Also, it is a must that all of the bolts are not loose and are pretty secure together with no flexing or movements.
Putting the Strap On
The strap is what will connect the spike to your boot so it is important to put it in the right place altogether. The L brackets should be position right above the ball on your foot. Take the strap and see how far you are going to tight it to the boot. If your boot is large, strap it down while also cranking it down to your foot.
Cut a pair of slots in each side of the L brackets using the grinder. This is where the strap will grab on to allowing the third strap to crank nice and tight in your boot. Once the slots are drilled, put the strap on the slots in one side of the bracket by inserting on the upper slot going outwards and goes down to the lower slot.
Continue to insert it on the bottom slot on the other side of the bracket going to the upper slot. Fit the strap all the way through, eliminating the excess straps by cutting the estimated size. Make sure that the remaining straps fit well with the leather boots.
Fitting the Climbing Spikes to the Boot
Get the boot and position the climbing spike the way you want it to. Make sure that it should be comfortable to your toes. It is advisable to put it in front of the stitching while tightening the spike to both of the sides of the shoes. Make sure to secure it down, minimizing the excess straps, and make it strong enough so that it will not be removed from the boot.
Sharpening the Bolt to Turn it into a Spike
The final step is to sharpen the bolts to turn them into a real spike. To do that, use the angle blade and the angle grinder to do the job for you. This will take a few minutes or more but make sure to do it nicely. Then cut off the excess straps but make sure to leave an extra length for the possible adjustment in the boots. After that, you can now proceed on making the climbing spike to the other side of the boots.
Conclusion
Learning how to make tree climbing spikes is a good skill to have if you like to do extreme outdoor stuff that includes climbing tall trees. The method we presented is just one of the many DIY methods that anyone can do in making affordable tree climbing spikes for your outdoor activities.


